


Quick Setup
Before you can use Codex with Costa, install the Codex CLI or desktop agent from the official Codex downloads page. see the Codex CLI Quickstart Guide. Codex works seamlessly with Costa through a dedicated Costa profile. Just create a config.toml file (or use environment variables) with the Costa credentials shown below.Step 1: Install the CLI
Grab the Codex CLI with npm. Use the tabs above if you prefer a different package manager.Step 2: Configure Costa Integration
Add the Costa profile to~/.codex/config.toml:
~/.codex/config.toml
Step 3: Start Coding
That’s it! Launch Codex with your usual command:- Costa Auto Router intelligent model selection
- Zero-trust security scanning all interactions
- Enterprise compliance and audit logging
- Performance analytics to track your coding efficiency and model performance
Codex CLI
Codex works seamlessly with Costa Code in the CLI…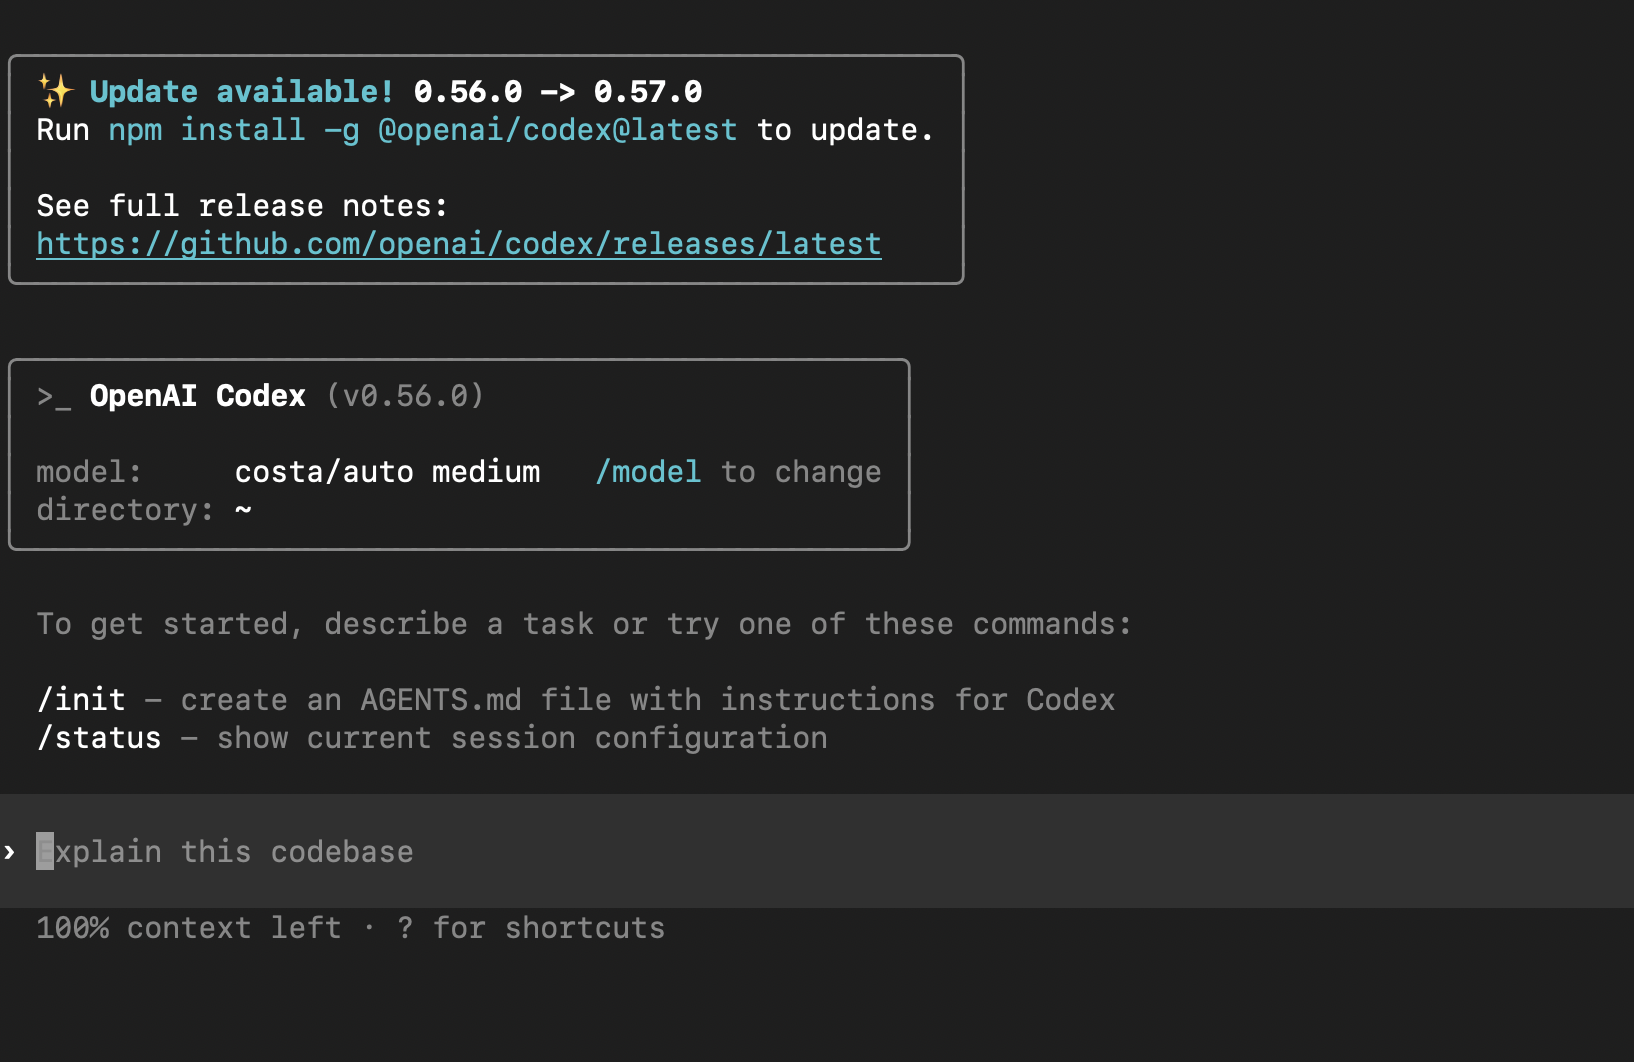
Codex VS Code Extension
… and also in Claude’s VS Code extension.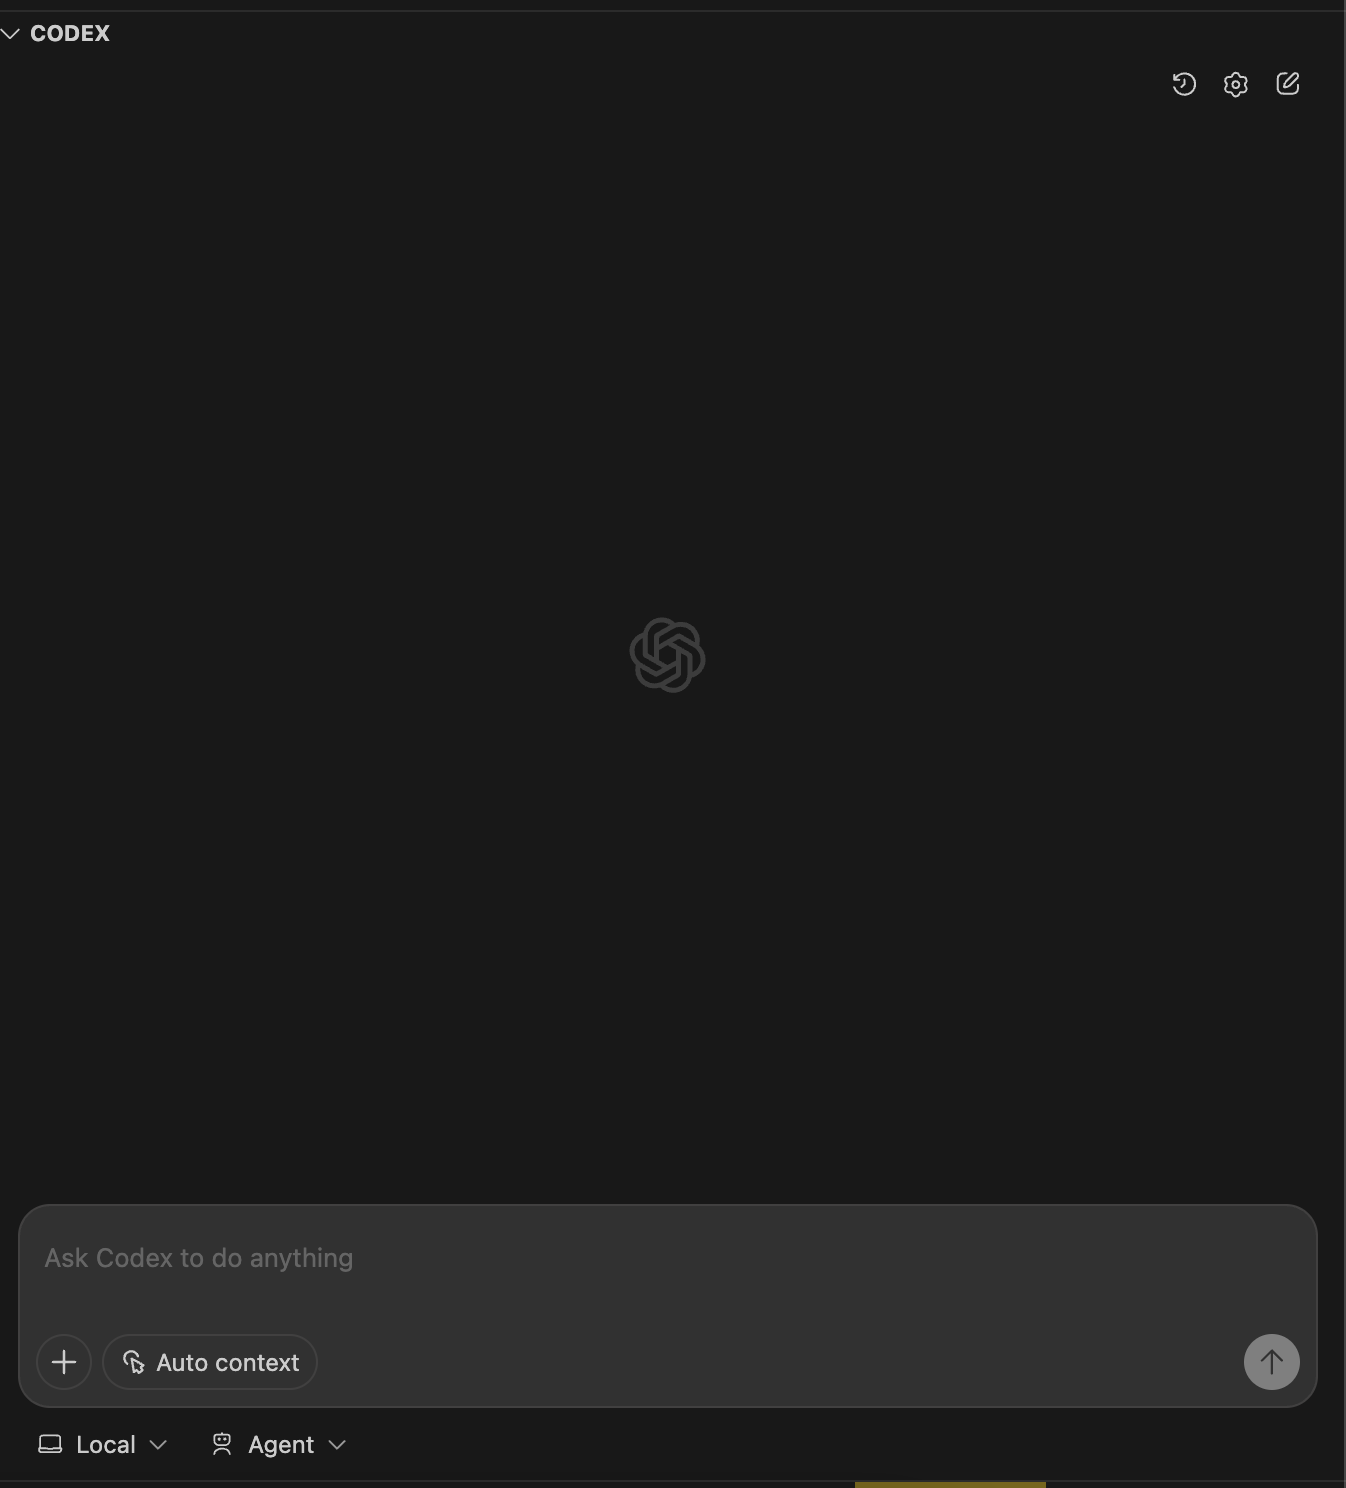
Unlock the power of Codex CLI with any model
You can use any model with Codex CLI, includingray-codex, gpt-5, and others.
If you love Codex CLI, but have ever wondered whether it’s the IDE or models that give you that extra edge… with Costa Code you can break free from your IDE.
Use any model you want and compare cross-model performance with Costa’s Analytics over time and find the combinations that are best for you.
For a full list of available models, visit https://ai.costa.app/code/models.